


How to style a dried flower bouquet
You’ll need
• Sharp scissors or secateurs for trimming your stems.
• Your vase. Think about size (more tips below).

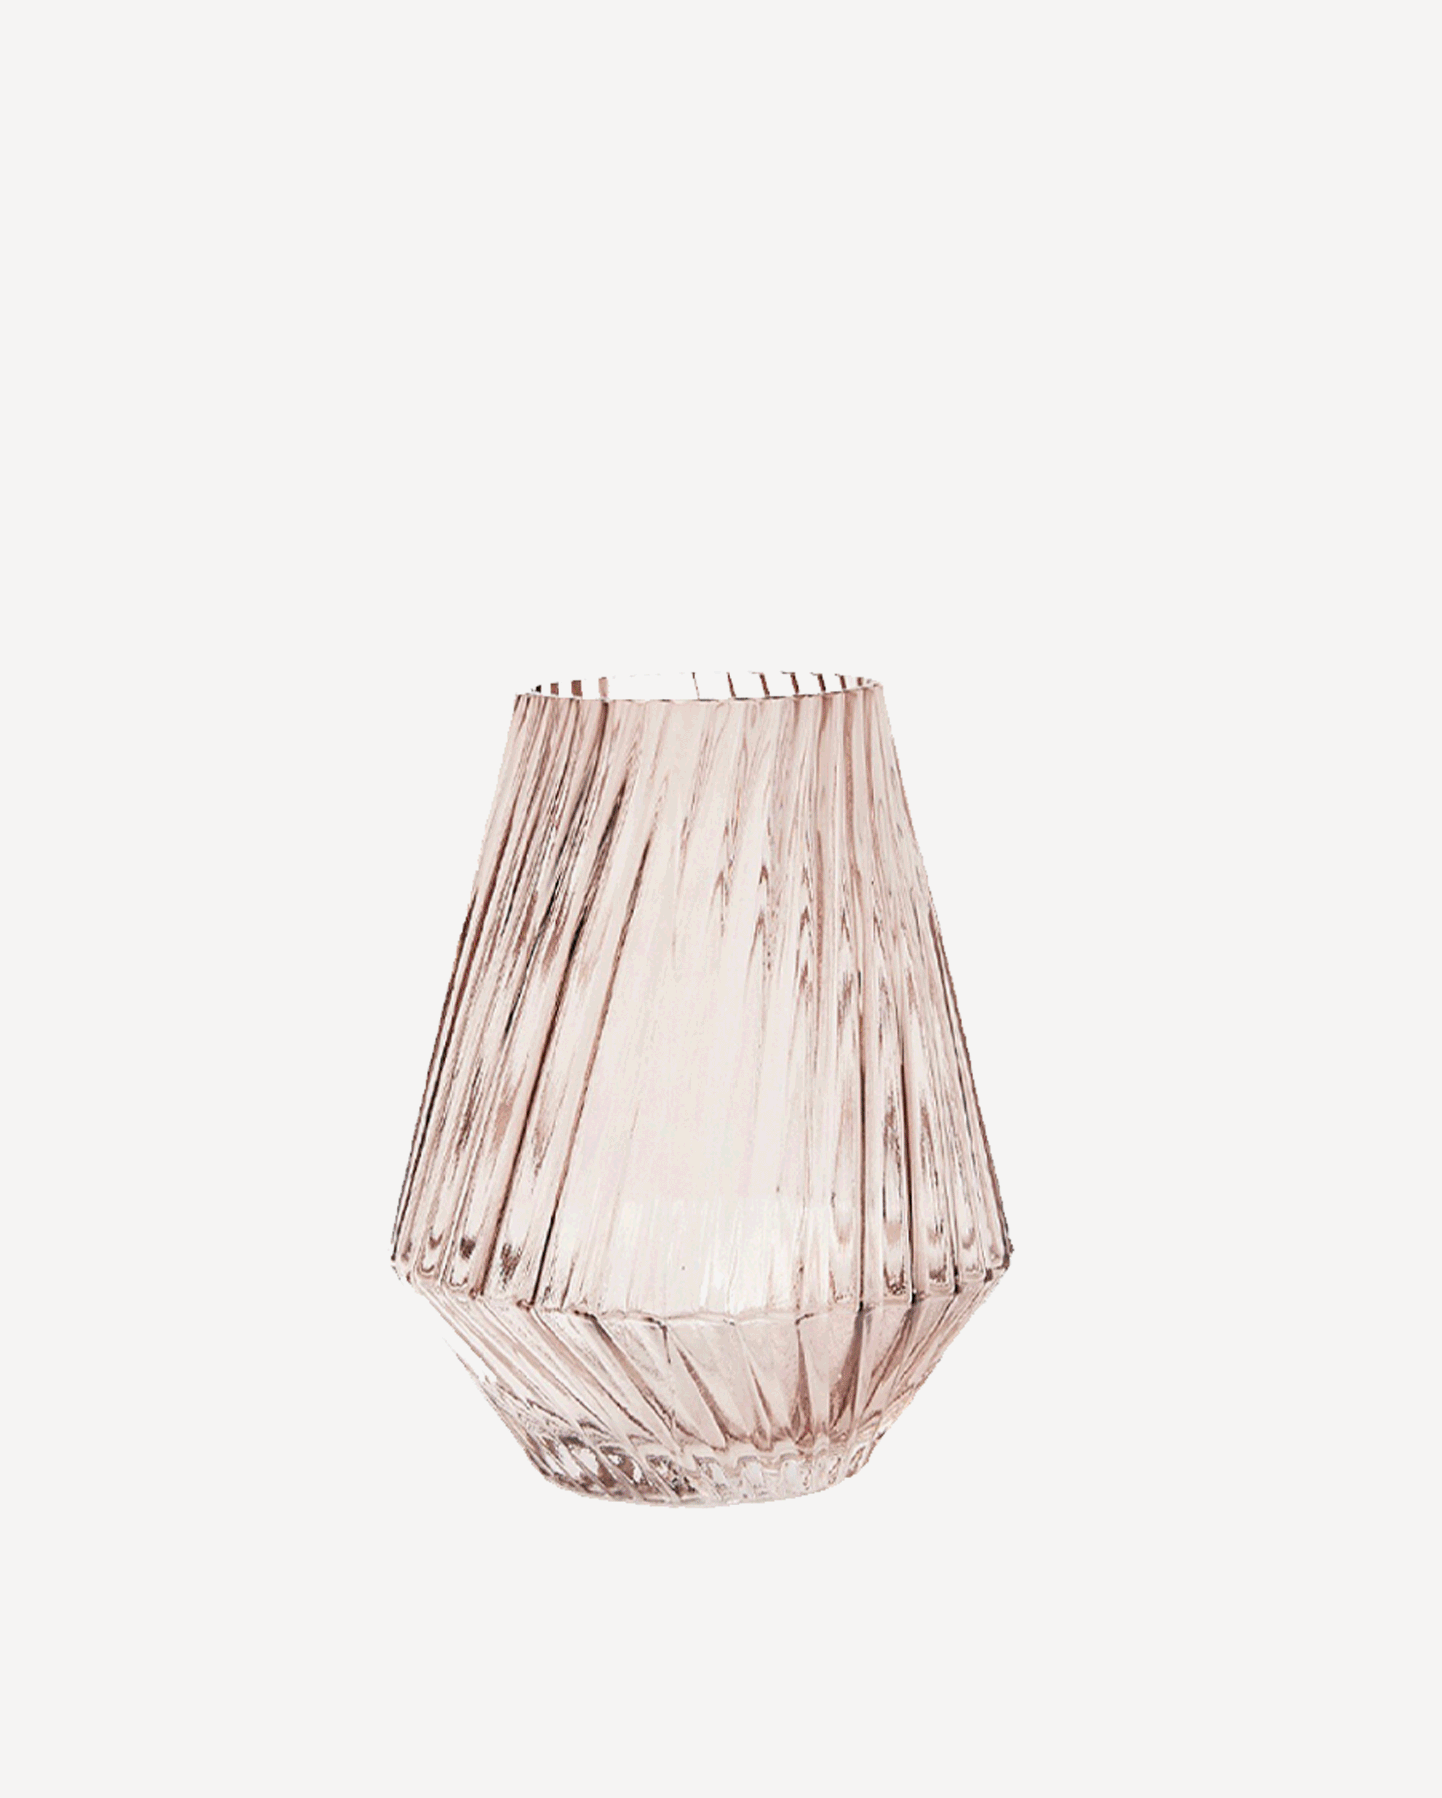
Select your vessel
‘As a rough guide, the vase should be around half the height of your bouquet,’ says Katherine. ‘We like to use opaque ceramics or pretty-coloured glass to hide the stems and put the focus on the gorgeous flowers.’

Large vase
A tall or cylinder vase requires flowers with long and sturdy stems. Being large, the vase is already a statement, so you may only need a few types of flowers in your arrangement. Use a standout colourful bloom as the centrepiece, then surround with more neutral secondary flowers.

Medium vase
This size of vase allows a little more creative freedom. Medium vases usually have a wide opening and can fit many floral varieties. You could opt for colourful focal and secondary blooms, then fill around them with neutral shades, adding texture as you go.

Small vase
When arranging flowers in a small vase, you can create a simple but striking look with just a few brightly coloured standout blooms. You could include contrasting shades within the same palette, adding texture around them. You won’t need a lot of greenery, as you’ll have less space.
Arranging your dried flowers


Step 3
Begin building up your arrangement. Start with structural stems – this is your foliage or greenery – and begin adding layers with your secondary ‘filler’ flowers (usually the smaller flowers or more subtle colours), checking the shape as you go.

‘Flowers and greenery can have a positive impact on our health and wellbeing,’ says Katherine. ‘There is a lot of convincing evidence that flowers may be potent mood elevators.’

Step 4
Start feeding in your focal, showstopping blooms. While layering, keep in mind the style you prefer and where the finished arrangement will be displayed. Front-facing with focal stems in full view? Maybe a 360-degree all-rounder? Or add your own spin with an asymmetrical arrangement – it’s up to you!

Step 5
Make your final adjustments, tweaking the foliage to fill empty spaces. Take a step back and admire your handy work. Also use the tips below to ensure your arrangement is styled to its best.
Final flourishes
• Vary the height of the stems for more depth.
• Add dimension by using a variety of flower textures.
• Using a simple transparent vase? Wrap stems with twine to add visual interest.
• When positioning your vase, place away from fireplaces, radiators or other heat sources to prevent the stems from drying out.


Caring for your dried flowers
'Make sure your arrangement lasts by keeping your flowers out of direct sunlight to preserve their colour,’ advises Katherine. 'You can give them an occasional light dust using a hairdryer, making sure you position the hairdryer at a metre distance from the flowers and use the cool setting.’

Style your own
Fancy having a go and creating a corner of floral joy in your home? Take a look at our dried flowers collection and select your favourite stems to start styling your very own arrangement.